Exploring MySQL in Eclipse PDT
As you probably know by now, I’m a huge fan of Eclipse PDT. Well, I wanted to stop using MySQL GUI tools for a bit and explore Eclipse tools.
Get the SQL Explorer Plugin
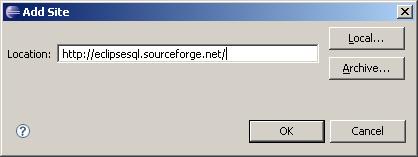
The first thing to do is to get the Eclipse SQL Explorer plugin. You can get that at the update URL: http://eclipsesql.sourceforge.net/
Install this software like you normally would. Accept the license and you’re ready to go with the plugin. I would recommend letting Eclipse restart after the installation.

Eclipse Uses JDBC
Eclipse uses JDBC connections to connect to MySQL. You can get this on the MySQL connectors page: Connector
Simply unzip the connector into your Eclipse program directory and move on.
Open Eclipse
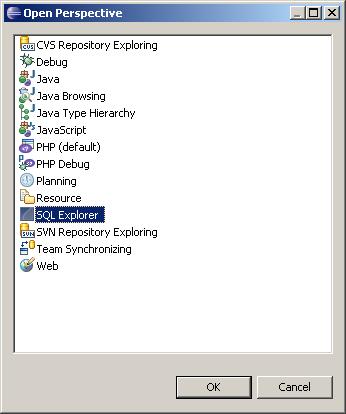
Next, Open eclipse (if its not already open.) First step is to choose the SQL Explorer perspective. This can be done by going to the Window menu, clicking Open Perspective and choosing Other. Then, select the perspective from the list.
Now, create a connection profile. This is done by clicking on the Create New Connection Profile link. From here, name your connection, choose your adapter and fill in the proper credentials. (If you’re not familiar with this style credentials, you can visit this website: http://www.connectionstrings.com
What if I can’t find my Driver in the list?
There is a good chance that the driver may not be in the list by default. Follow the following steps.
-
On the connection profile screen, click the ‘Add/Edit’ button
-
Select the MysQL driver in the list.
-
Click the Edit button on the right hand side.
-
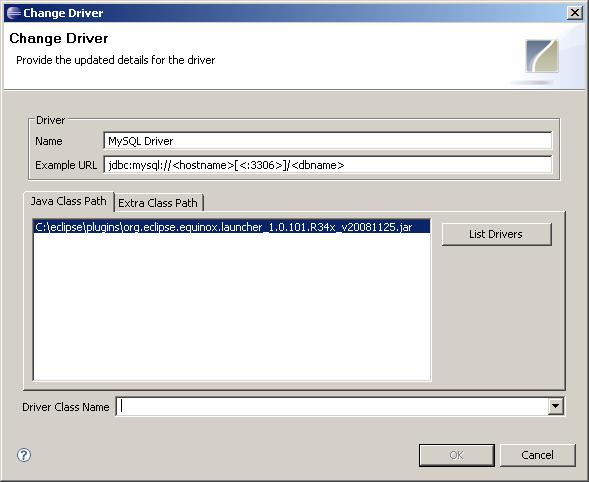
If you do not see your driver in the list of Java Class Paths, click on the Extra Class Path tab.
-
Browse to find your most recent driver download and select that jar file.
-
Click on the list drivers button. com.mysql.jdbc.Driver should appear in the Driver Class Name box. If not, select it.
-
Click OK and then OK again to return to the connection profile box
Now you should be able to use the MySQL driver from the list.
Browsing the Database

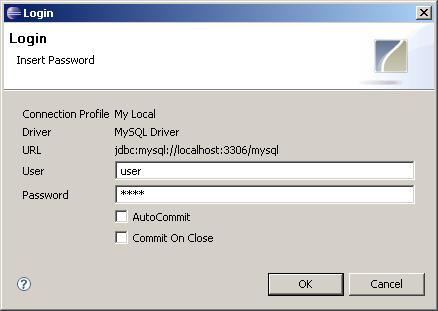
After configuring the connection profile, you should see it in your list of connections. Once you expand it and double click the user, you will be prompted to enter your password (as well as choose some other connection profile options).
From here, you’re good to go! You can browse the databases in the Database Structure tab, you can edit SQL in the SQL Editor tab, etc.